- Docs
- Configuration Overview
- Installation
-
Installation
 Updating
Settings
Logs
Updating
Settings
Logs
- Using ItemPath
-
API
Reports
Snapshots
Workflows
Dashboard
Explorer
Users
- Apps
-
Cycle Counts
Data Pull
Data Push
Displays
Lights (Philips Hue)
Custom Fields
Installation
Click here to jump ahead to On-Premise installation
Cloud Hosting
Check this list of requirements you'll need to have ready before you get started with an ItemPath Cloud license.
Installing ItemPath hosted in the cloud is simpler than ever. We take care of setup, so the first step to running ItemPath is opening your welcome email. This introductory email includes details like the IP address, recovery key, and your link to ItemPath.
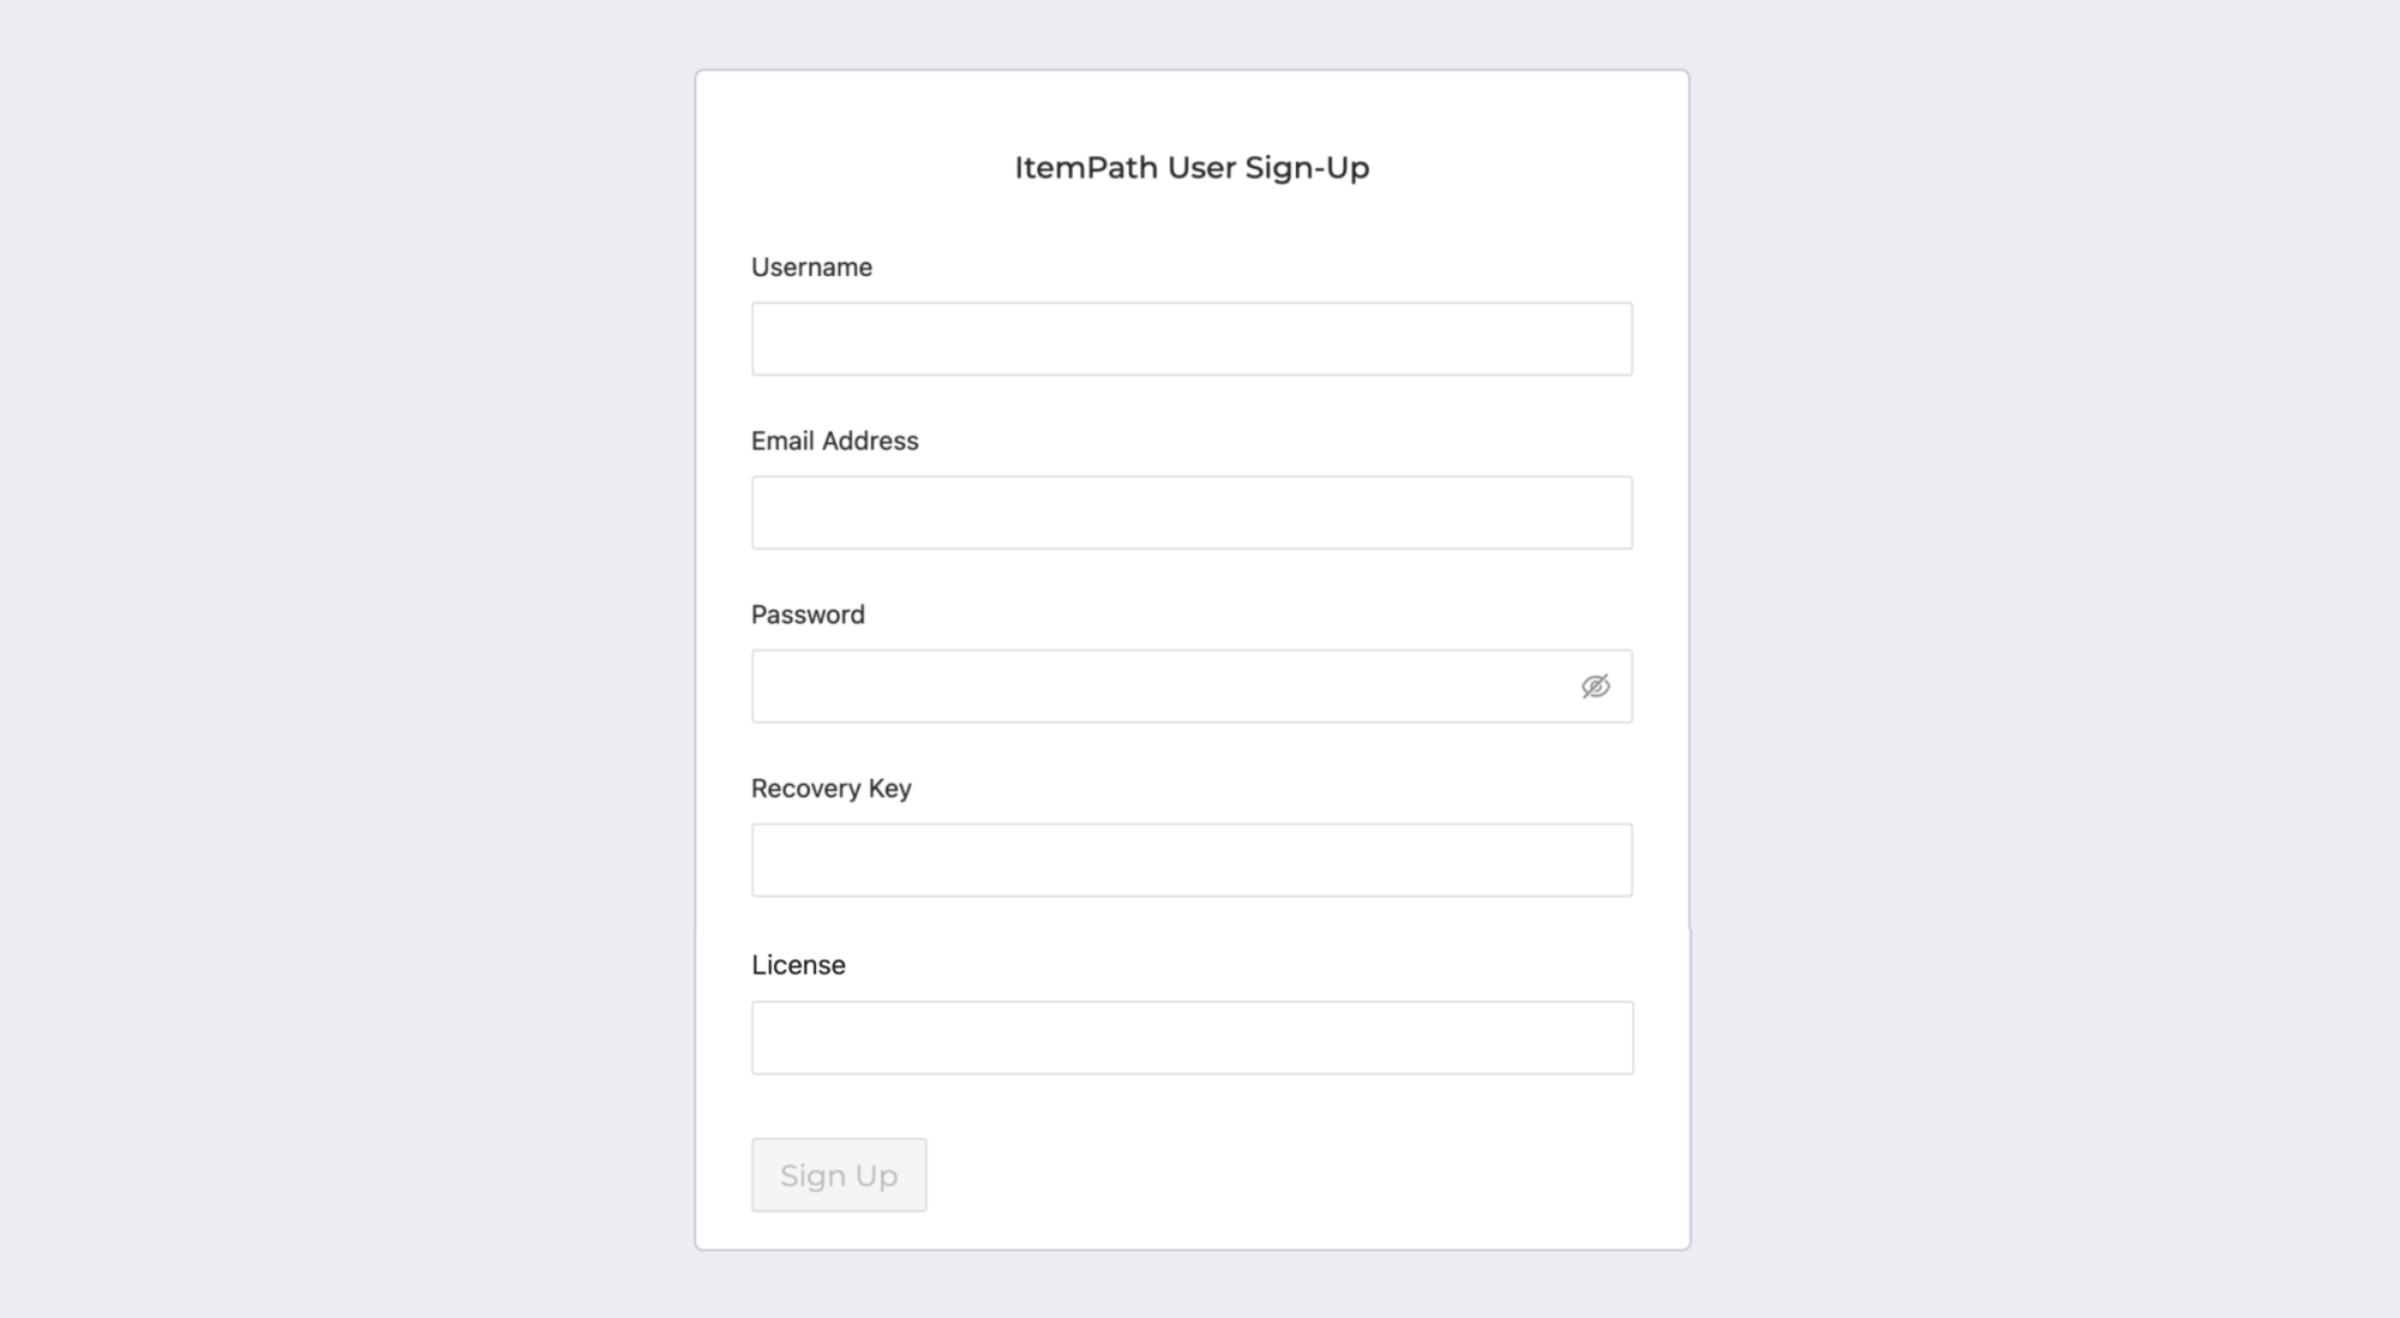
In the User Sign-Up form pictured below, enter the details of your first user. (Once in, you'll be able to add additional users in the User panel.)
While ItemPath will be ready to use by this step, you'll want to add your PowerPick and Web Services connection data to ItemPath. Your IT department will be the experts on those details. For help, use this guide.
Click on Settings in your site's footer and go to the Kardex tab to fill in the required data. The Kardex tab will show green check marks when the connection information is correct.
Note: You will only need to fill in details for a Web Services connection if you will be using ItemPath apps or the API to create orders.
Congratulations on setting up ItemPath in the cloud!
On-Premise Hosting
1. Pre-installation
Before installing ItemPath on-premise, you'll need a few things. Click here for system requirements and what details have to be passed along to the ItemPath support team before getting started.
2. Configuration Files
Once the pre-installation information has been passed along to us, we’ll generate a couple of configuration files as part of your installation. Keep these as they will be needed during the install process.
- docker-compose.yml - this will store all your proper boot up procedures for ItemPath, including running the web server, API, and other services
- appdata.db - this is the initial internal database for ItemPath, such as root users, reports, and other data
A) Installing via Docker (Recommended)
The installation process using Docker is the preferred method, and can be broken down into a few simple steps:
- Local user is created and has root/sudo permissions.
- Confirm Docker 19 or greater is installed on the virtual machine by running docker version in the terminal. If Docker is not installed, instructions can be found here.
- Install Docker Compose 1.22 or greater. Installation instructions can be found here.
B) Installing via Podman
Installing ItemPath using Podman is a supported alternative option and requires a few additional steps:
- Local user is created and has root/sudo permissions.
- Confirm Podman 3.4 or greater is installed on the virtual machine.
- Make sure podman-docker, podman-plugins and docker-compose packages are installed.
sudo yum install -y podman-docker docker-compose podman-plugins - Confirm the Podman socket is running by running
sudo systemctl enable podman.socketsudo systemctl start podman.socketsudo systemctl status podman.socket
- Add the docker host variable by running
export DOCKER_HOST=unix:///run/user/$UID/podman/podman.sock
3. Local Files & Database
Once Docker and Docker-compose have been installed, you’ll want to take the docker-compose.yml file that’s been provided to you and put that in the local user directory (~/).
From the terminal, run the following commands to create the local folder for ItemPath:
mkdir -p ~/ItemPath/files and mkdir -p ~/ItemPath/dataAfter doing so, you’ll want to put the appdata.db file you received during preinstallation into the ~/ItemPath/data folder.4. ItemPath Installation
From Outside the Internet
If you’re installing ItemPath from outside the Internet, you can load ItemPath’s Docker images using the Docker load syntax. In Docker,
docker load < itempath_api.tarIn Podman,podman load < itempath_api.tarMake sure to load each image separately. There should be around 4 or 5 images in total.From Dockerhub
First, you’ll need to log in to Docker to download the ItemPath images. To do this run
docker loginYou’ll be prompted to enter a username and password. Have the ItemPath support team provide you with these.From the terminal, it’s time to download ItemPath. Navigate to the directory containing the docker-compose.yml file by typing
cd ~. Then, download ItemPath using the commanddocker-compose pullCongratulations on setting up ItemPath on-premise!
5. ItemPath Startup & Shutdown
To start up ItemPath:
Run ItemPath from the user directory (~/) by running from the terminal:
docker-compose up -d. This should start ItemPath and all of its running containers.You can confirm ItemPath is running by visiting localhost in a browser, or by visiting the IP address of the host machine.
To shut down ItemPath:
Stop ItemPath from the user directory (~/) by running from the terminal:
docker-compose down. This should stop ItemPath and all of its running containers.To restart ItemPath:
You can stop and restart ItemPath at the same time from the user directory (~/) by running from the terminal:
docker-compose down && docker-compose up -d. This should stop ItemPath and all of its running containers, then relaunch each one.