


Integration Settings & Filters
Once an integration is created, you can click on it to look at the details. You'll also see the option to toggle the integration to "Inactive" at the top-right.
In the Settings tab, you'll see these options:
1. General
You've already set these details, but here you can change the integration name, format, or connection.

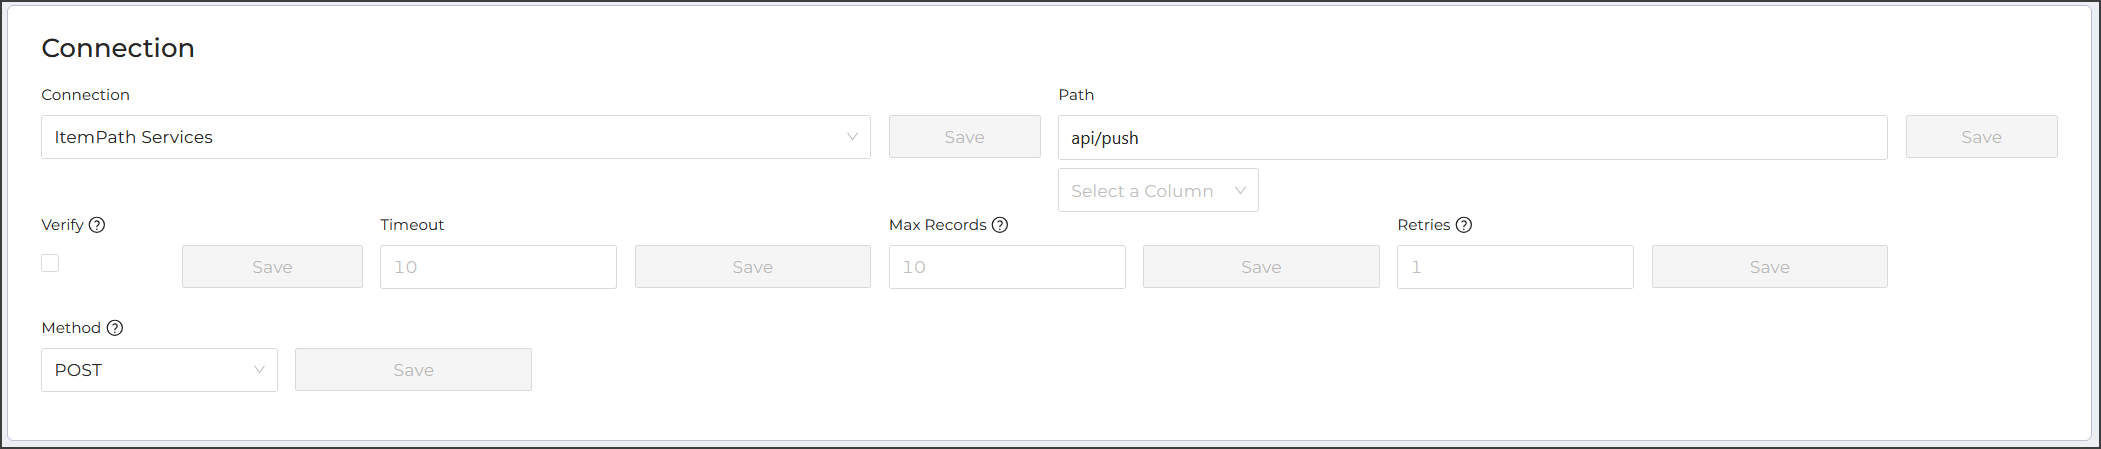
2. Connection
The Path to enter here is the endpoint you want these transactions sent to. This extends the URL you set up in your initial configuration of ItemPath's global settings.
Checking the "Verify" box will require SSL certificate verification for this endpoint.
Timeout is the number of seconds that can pass without a response before Data Push logs a timeout error. The default is 10 seconds, and the maximum is 90 seconds.
Max Records is the highest number of transactions that can be processed in one second, for high volumes of records. The default is no limit, and the maximum is 100 records.
Retries indicates to Data Push how many times a transaction should automatically be resent if it fails to export, before being marked with an export error and moved to the Failed Attempts tab. The default is 1 retry, and the maximum is 5 retries.
Make sure to save each change as you update these details.
3. Headers
Any headers you enter here will apply to each transaction sent with this integration. These are also in addition to any global headers you set up earlier in the Data Push connection.
Check the "Private" box if these headers are used for authentication and you don't want them shown in the logs.

4. Filters
You can filter by column values to only include transactions that meet certain criteria, such as Type or Motive. Filters can use any property from your transaction data.
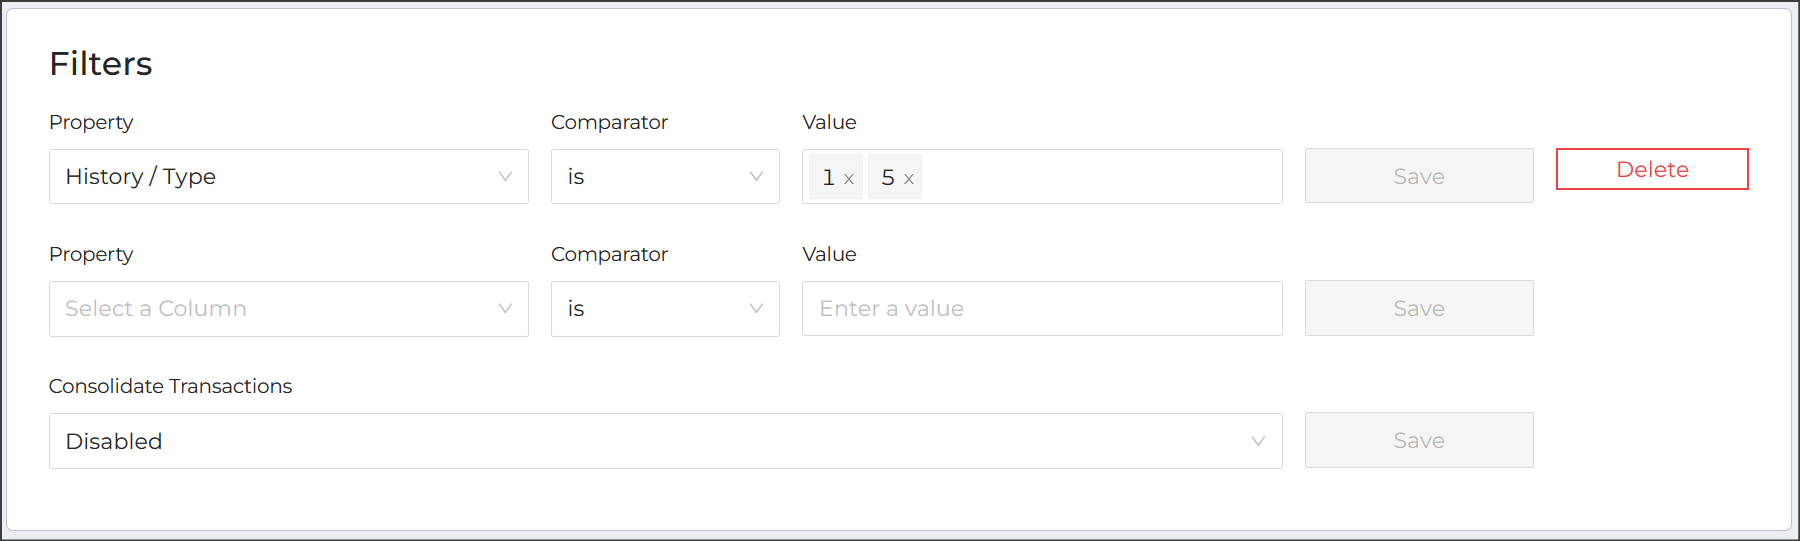
You can add more than one Type to an integration's filters. For your Put integration, filter by both Put types (1 and 3), and for your Pick integration, filter by both Pick types (2 and 4). To do this:
- Select History > Type for the Property.
- Select is for the Comparator.
- Enter the type values into the Value field. After entering the number, select the value from the drop down.
- Save.

You could also add Motive filters and leave out types 5 and 6 (deleted and cancelled transactions) by using the Not comparator. Filtering with "Is Not" will exclude records that have any of the types that you specify. Repeat the process for entering a filter, using History > Motive.

If you would like to send other transactions with other History Types (not Picks and Puts), you can create a new integration (or multiple) with those filters. Other common Types include Counts (6), Corrections (9 & 10), and Cancellations (11).
Click here to view the full list of Types available in Power Pick's history table.
You might notice there are two types of Puts & Picks. The reason for this is to differentiate between Manual and Order transactions.
The two "Put" Types are Manual Put (1) and Order Put (3). A Manual Put is typically made by the user at the storage unit. They may type or scan the material name/part number and enter the Put quantity manually before putting the order away. An Order Put comes from an order created or imported in Power Pick.
In the same way, the two "Pick" Types are Manual Pick (1) and Order Pick (3). A Manual Pick is typically made by the user at the storage unit, as they type or scan the material name/part number and manually enter the quantity they're picking. An Order Pick comes from an order created or imported in Power Pick.
However, processing both Manual and Order types can be simulated virtually for test purposes, and don't necessarily require someone to be physically at the storage unit. Connect with Kardex support for resources on how to virtually process an order in your Power Pick admin software.
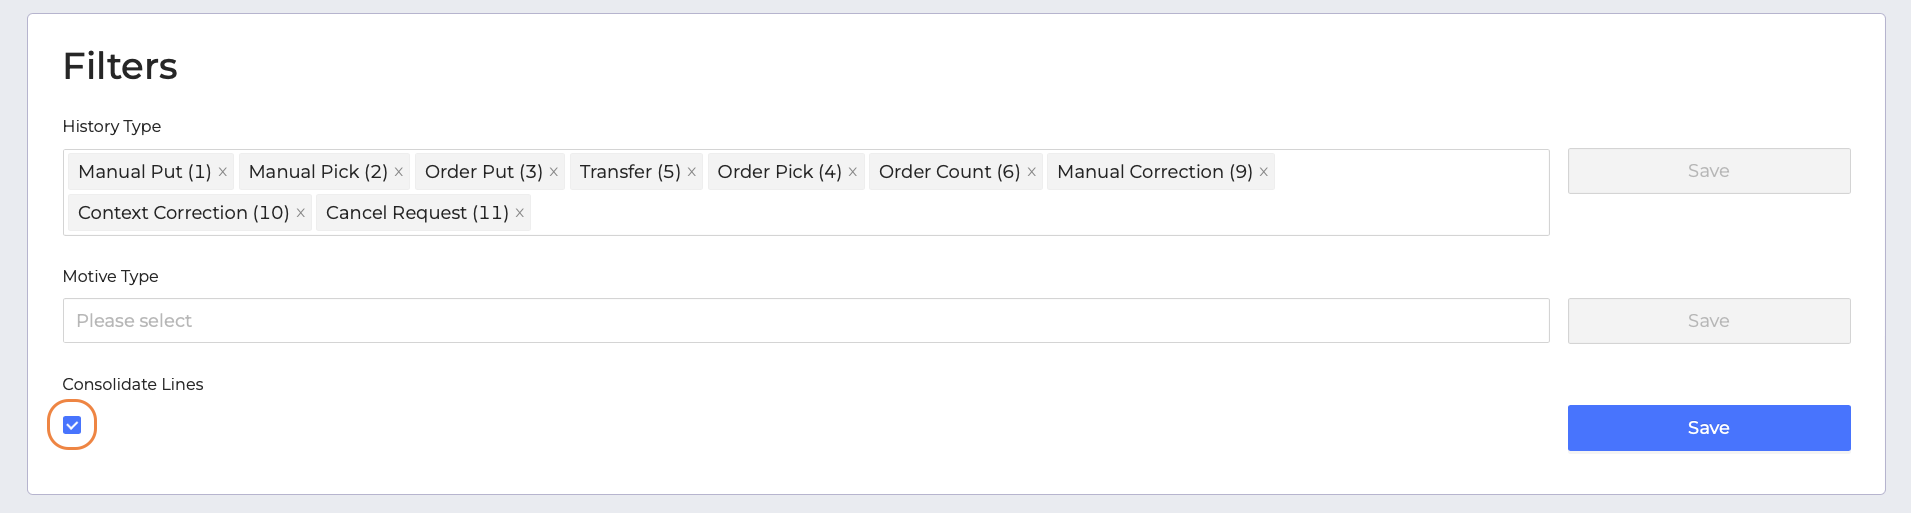
Consolidate Lines: When this setting is active, Data Push transactions won't be sent until the order line is complete. See the next lesson for how this affects mappings.