


Integration Mappings
The Mappings tab allows you to customize data mapping using a flexible expression system. Select a mapping type to get started:
- Column: Enter the name from your system, then choosing the corresponding PowerPick column.
- Text: Add a line of text that will be consistent in all calls.
- Grouping: This organizing tool is mainly used for subgrouping order lines.
- Array: Maps the key to a list of values.
- Boolean: Maps the key to the boolean values of True or False.
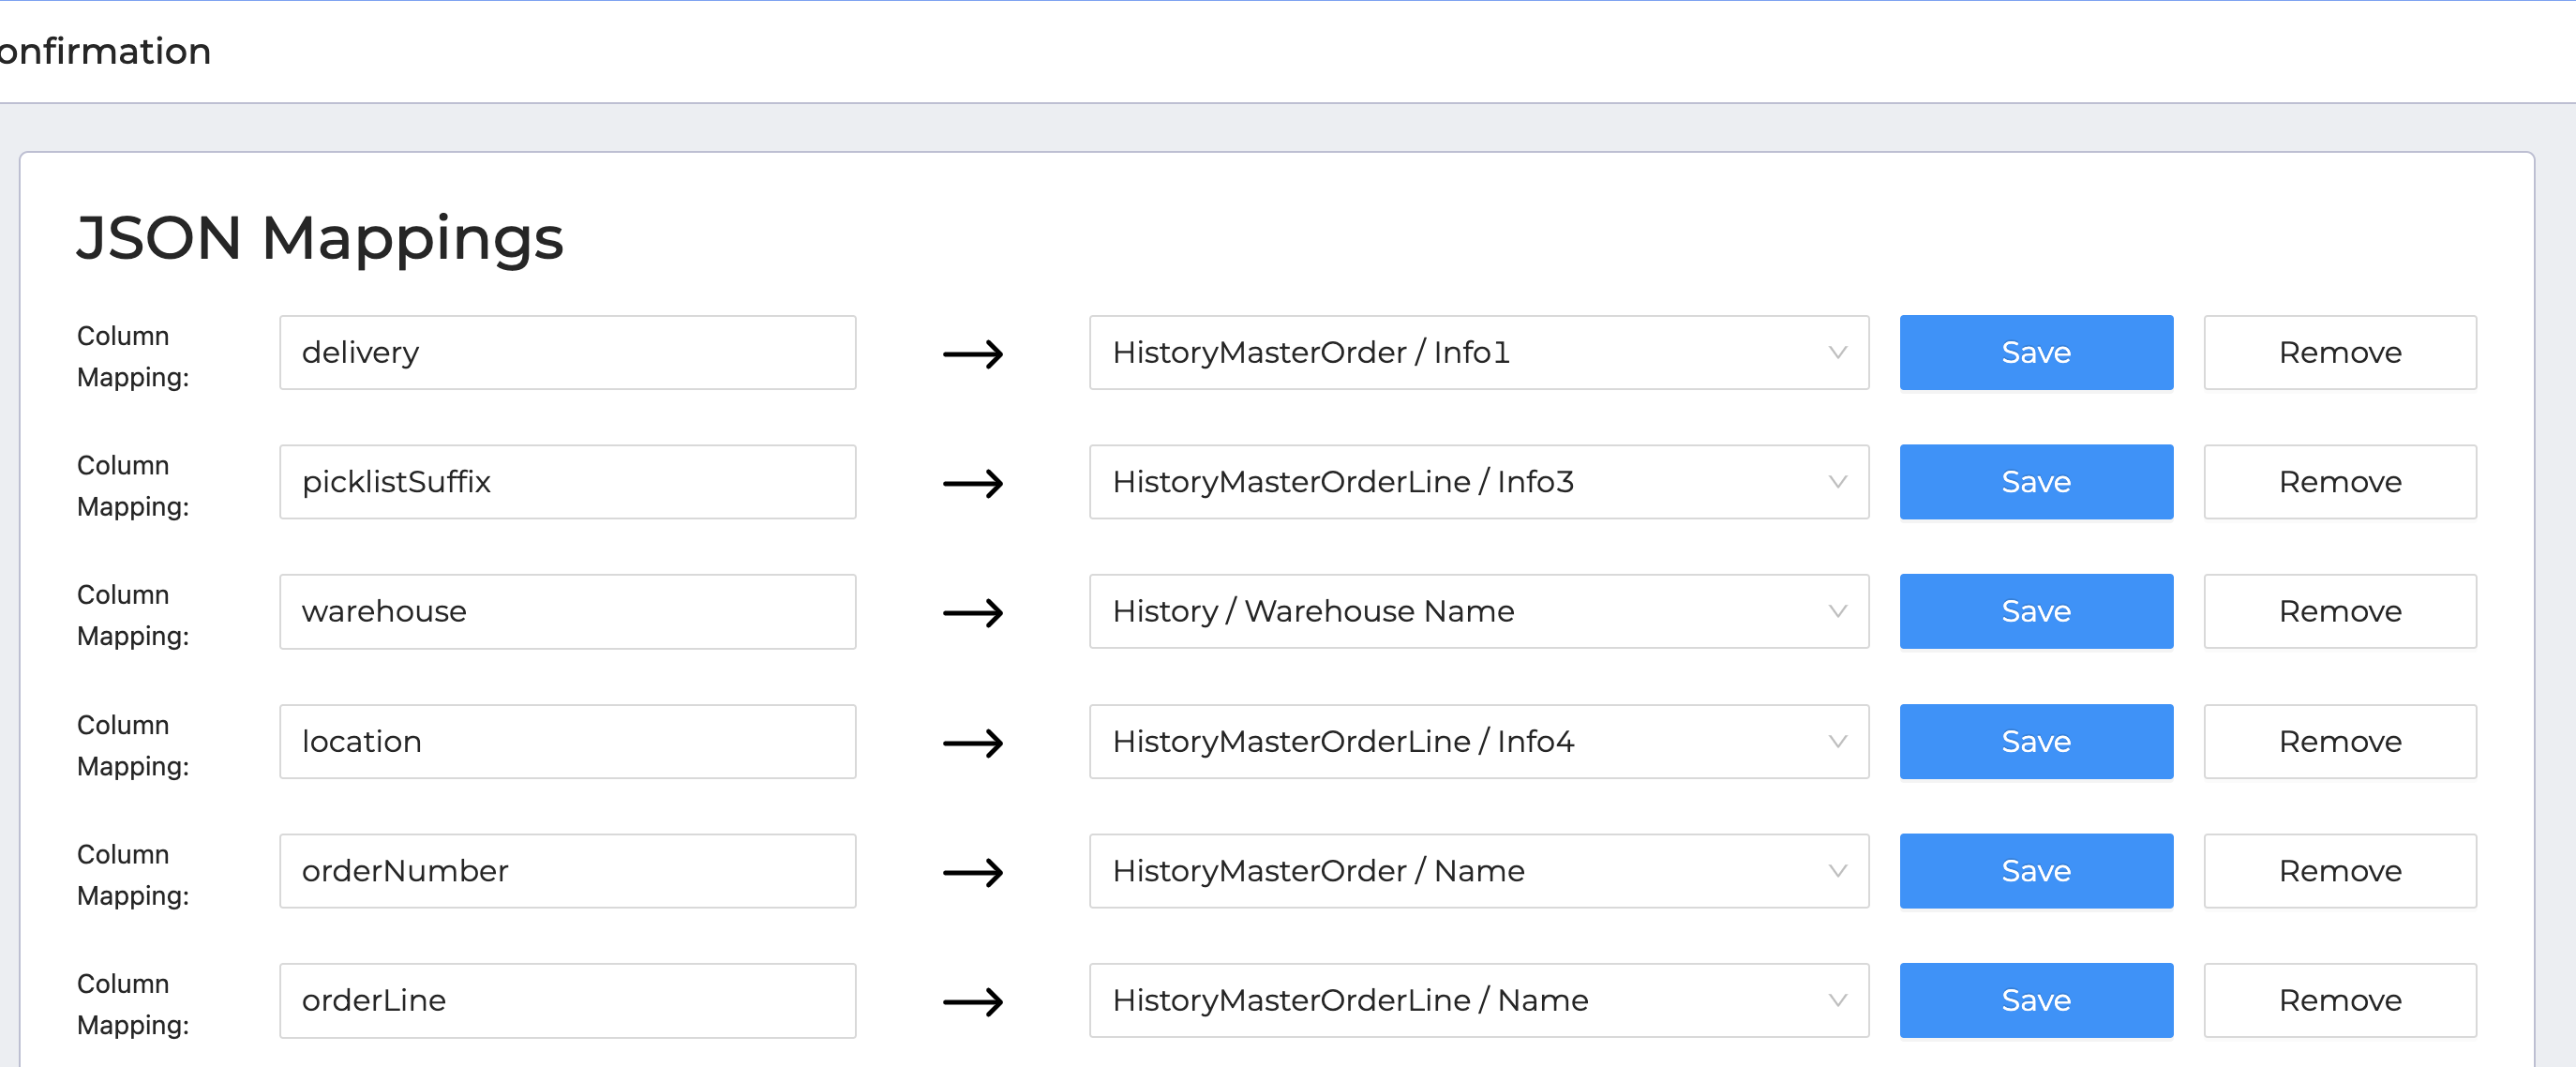
Using your list of fields in your ERP, try adding a mapping for each field you require to be sent. Add a new column and enter the name of the field in your ERP. Then choose the corresponding PowerPick column. Just like adding columns to a report, you can scroll through options or begin typing the PowerPick field name to narrow down results.
It can be helpful to include the Motive Type in your integration Mappings to see corrections and deletions. Check the list of values here to see what information they can give about what happened with a transaction.
When you revisit your Mappings tab, you may notice that the order of your mappings has been rearranged into alphabetical order. That's just how it's organized in the ItemPath user interface, but it doesn't represent the way the object keys will be ordered in the transaction body.
There's actually no way to order object keys—JSON standarddoesn't support it. If you need to receive your object keys a certain way, consider how you name your mappings for your integration logic (e.g. prepending the mapped names with letters or numbers).
Mappings for Consolidated Lines
If the setting to "Consolidate Lines" is active, all transactions for an order line will be combined into one payload. When sending data for consolidated history records, with multiple transactions having unique data for a given key, the mapped value has a different structure. That structure looks something like this:
HistoryCreationDate: {"transactionId1" : date, "transactionId2": date}