Columns
At first, your report will be empty. You can add data to it by navigating to the Columns tab.

To start adding a column, you can scroll through the expandable menu of available columns to choose from, and click on the field you want to add.
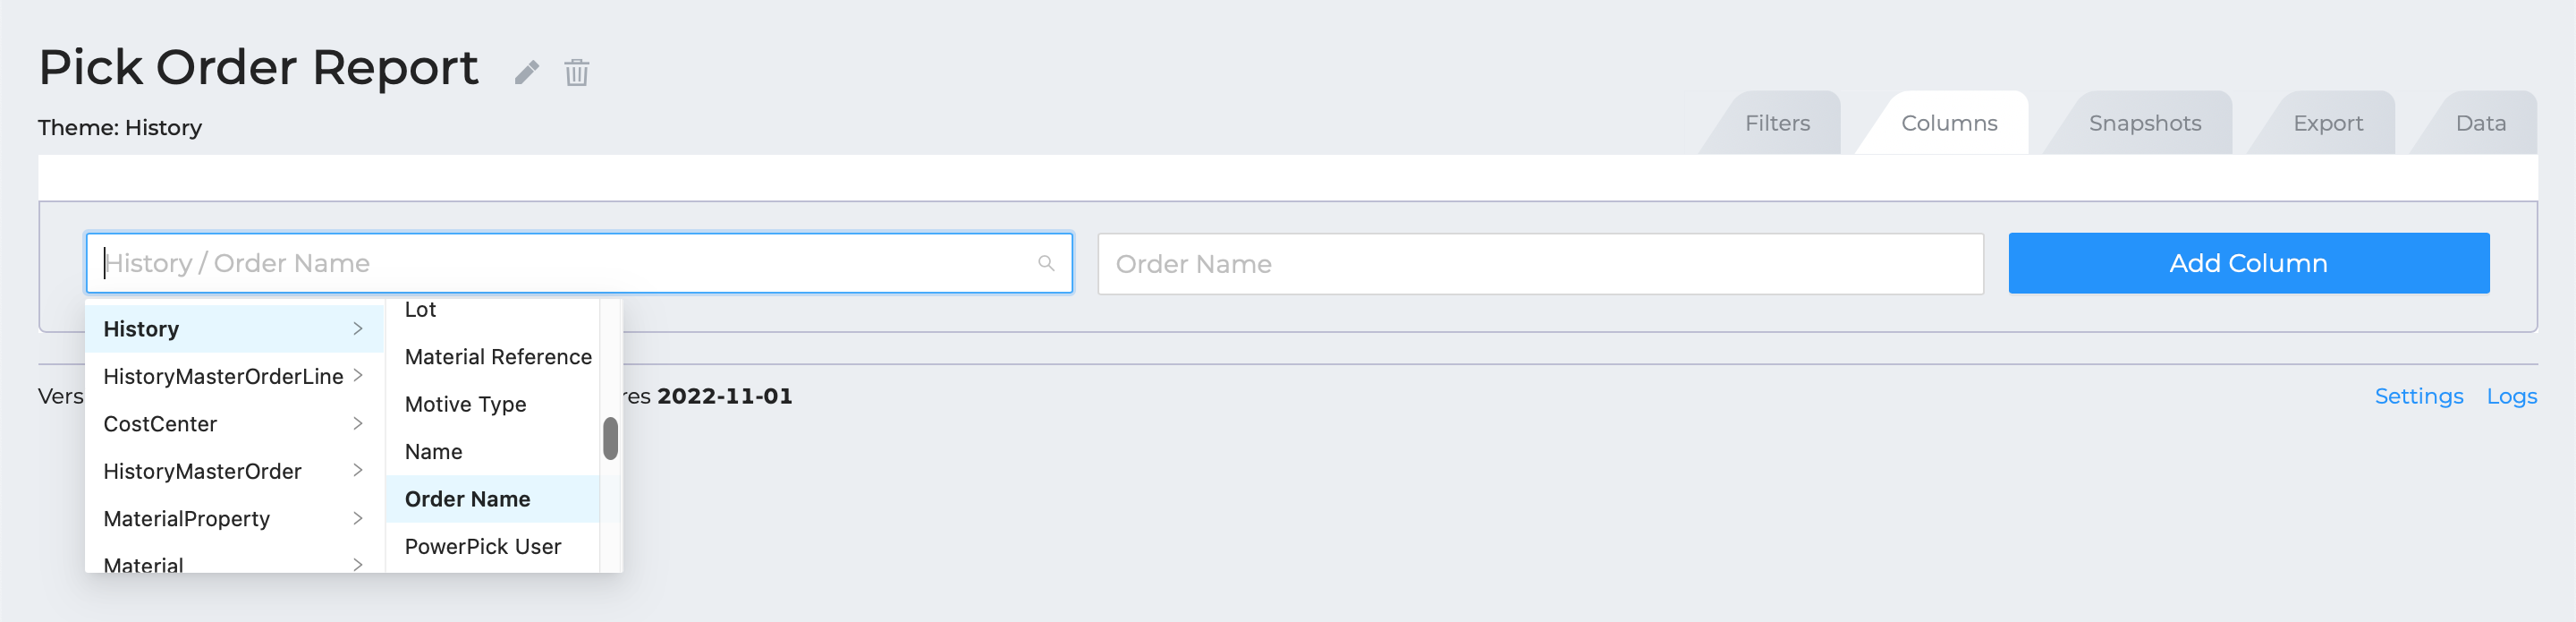
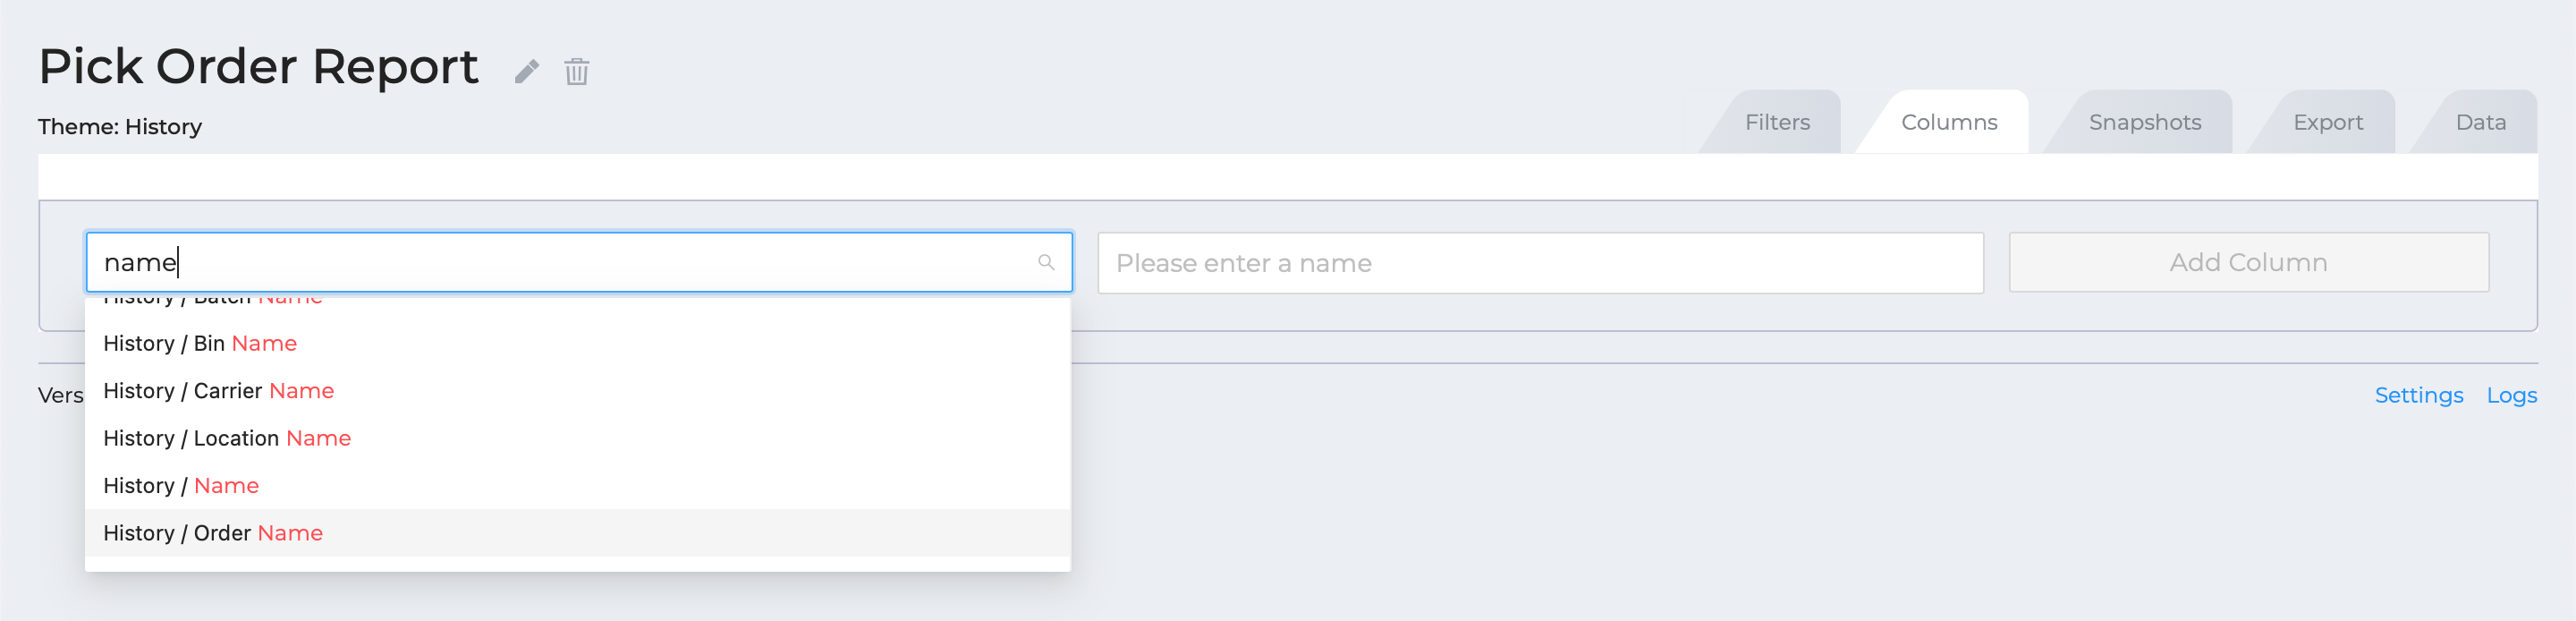
Alternatively, you can start typing to search for a field, and hit Enter to add it.
A name for the field will be assigned by default. You can change it by clicking on the field and typing a new name. This can be especially helpful for renaming Info fields to something more meaningful, like a description.

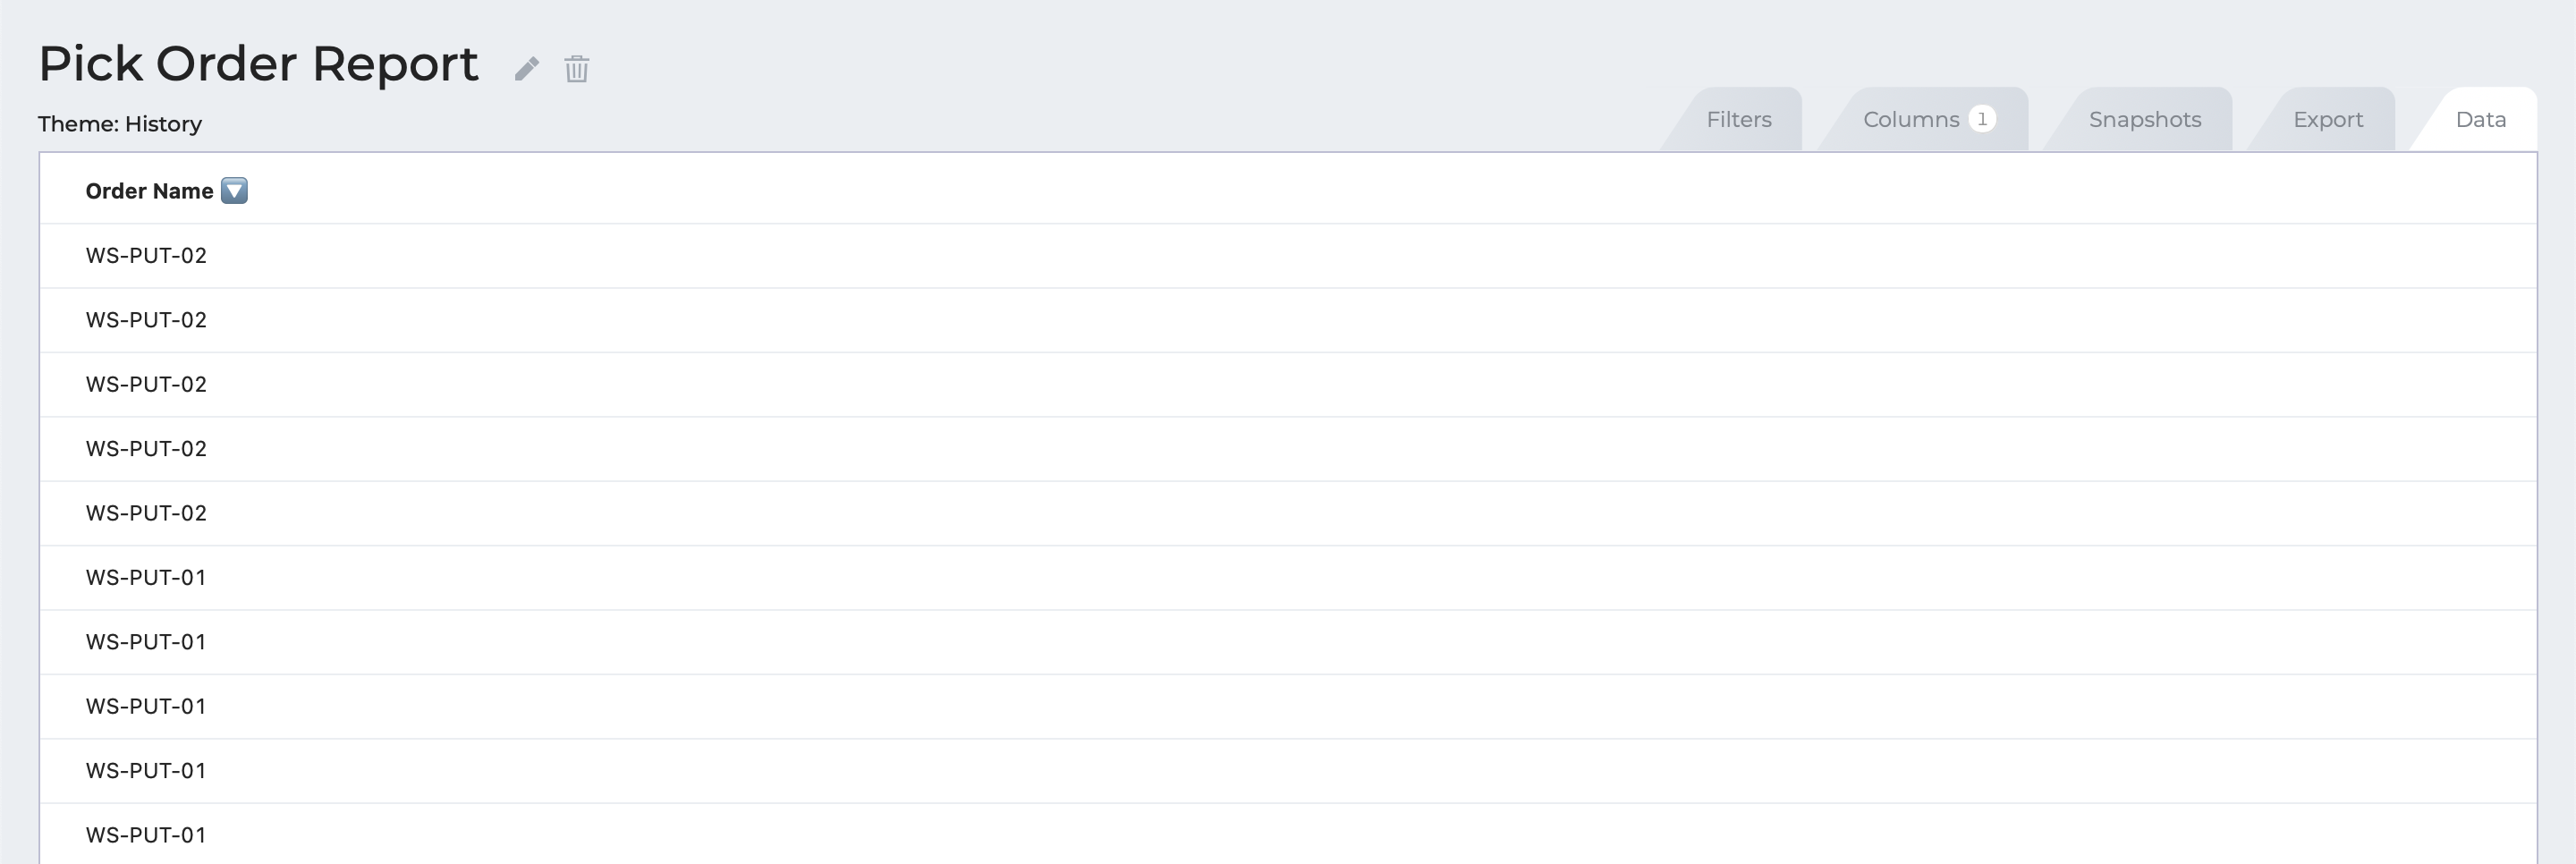
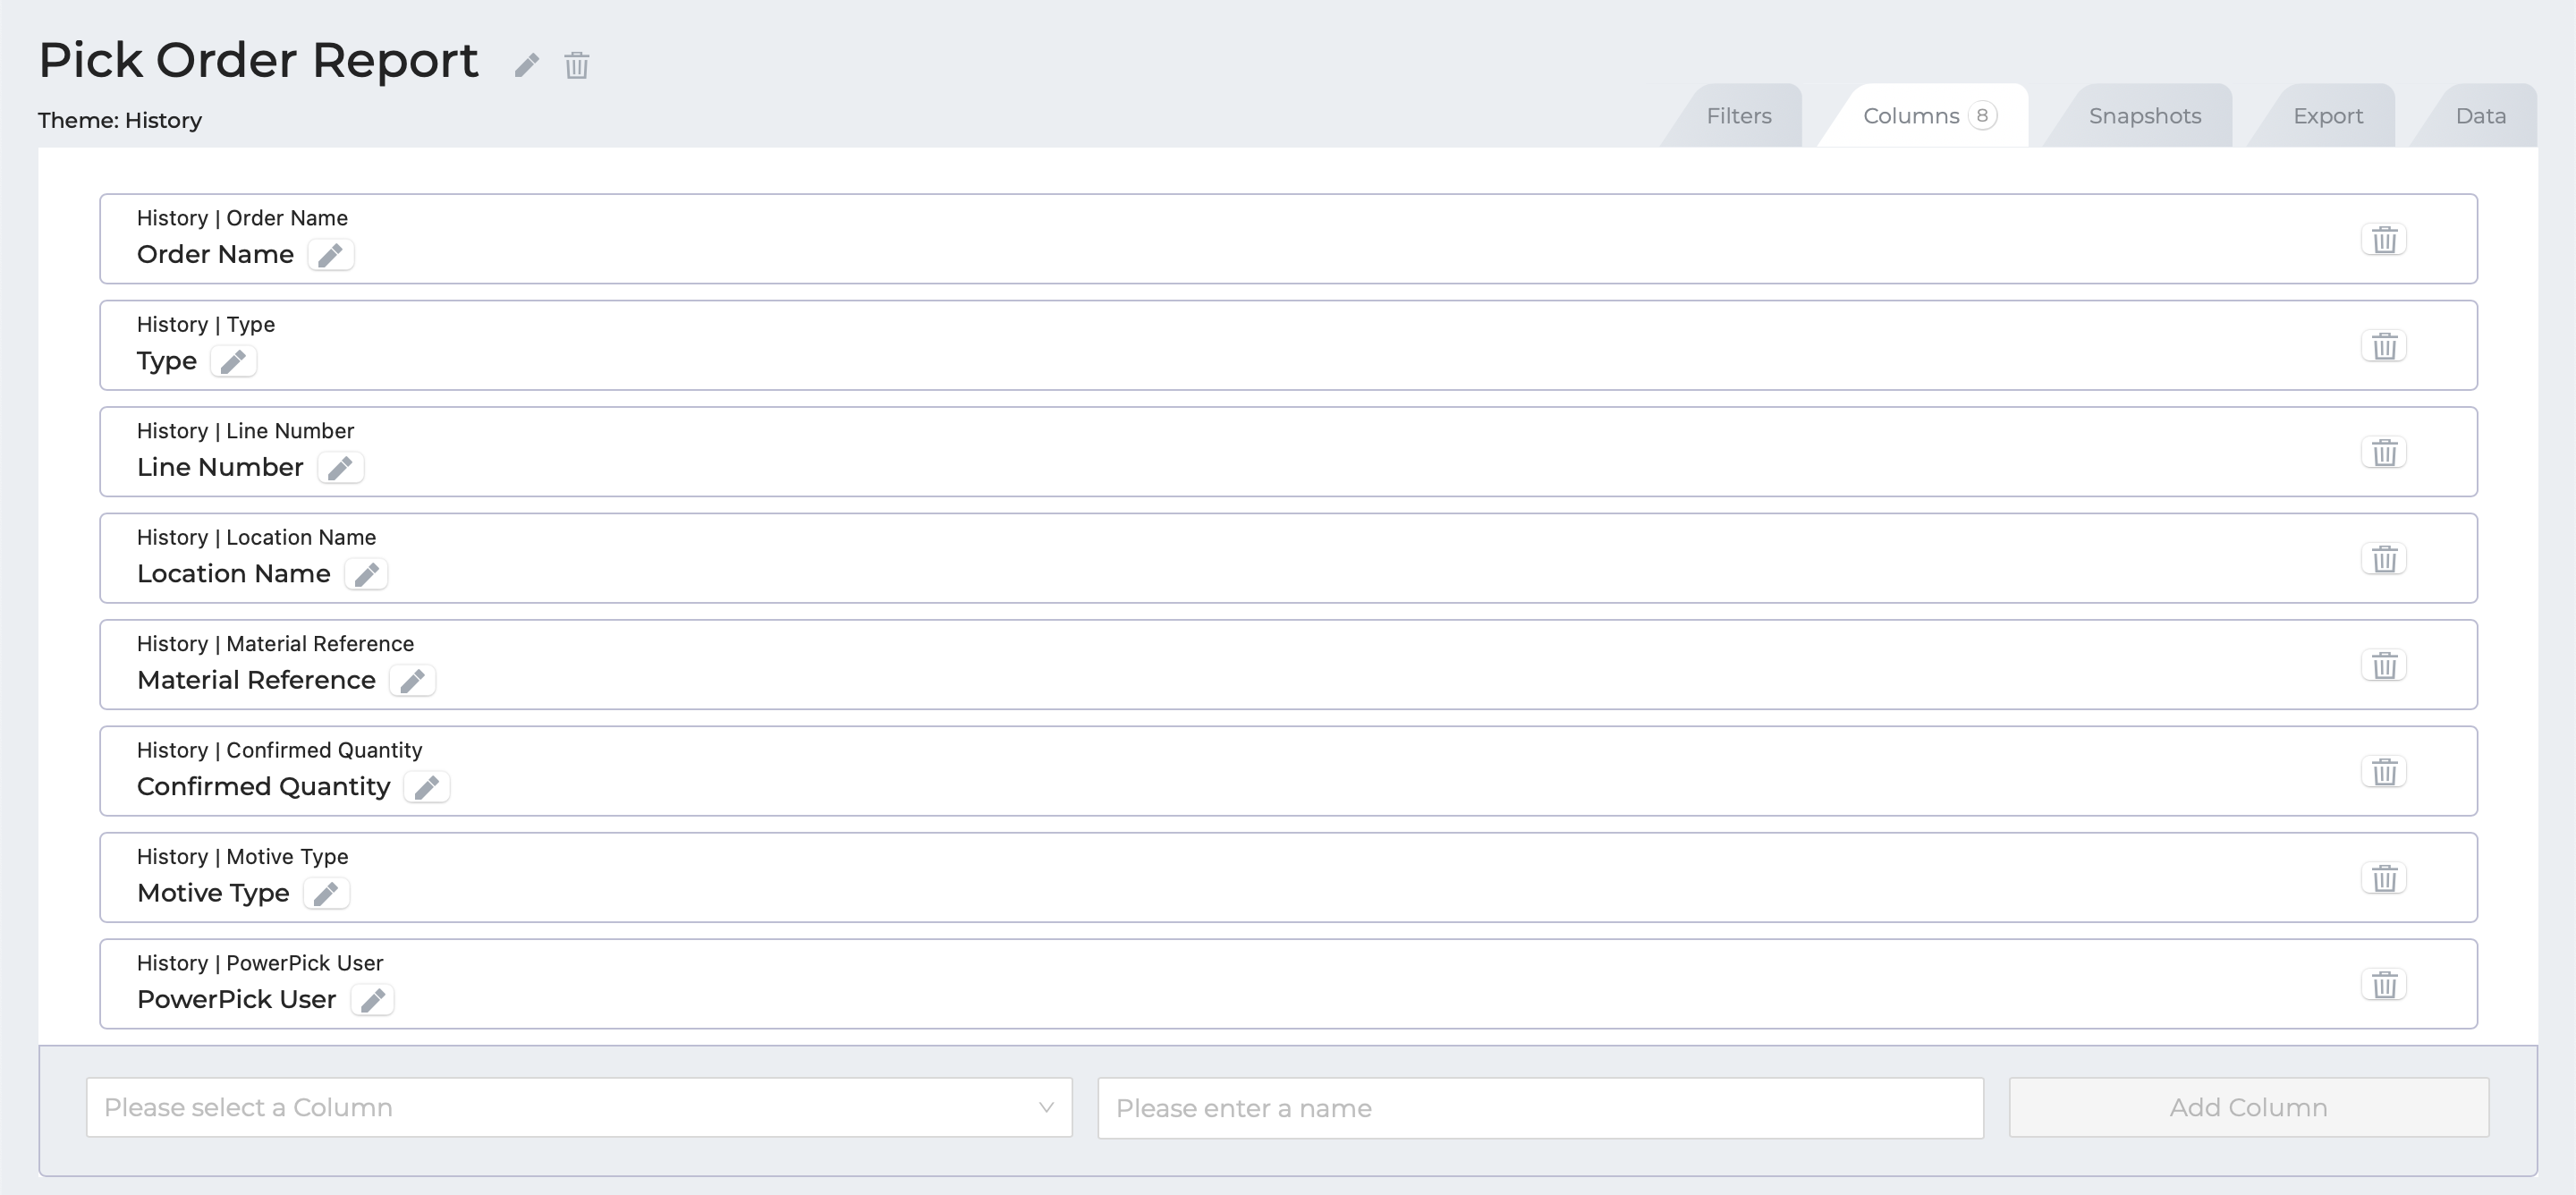
Upon clicking the Add Column button, the field will be added to the report. You can edit or delete the column here.

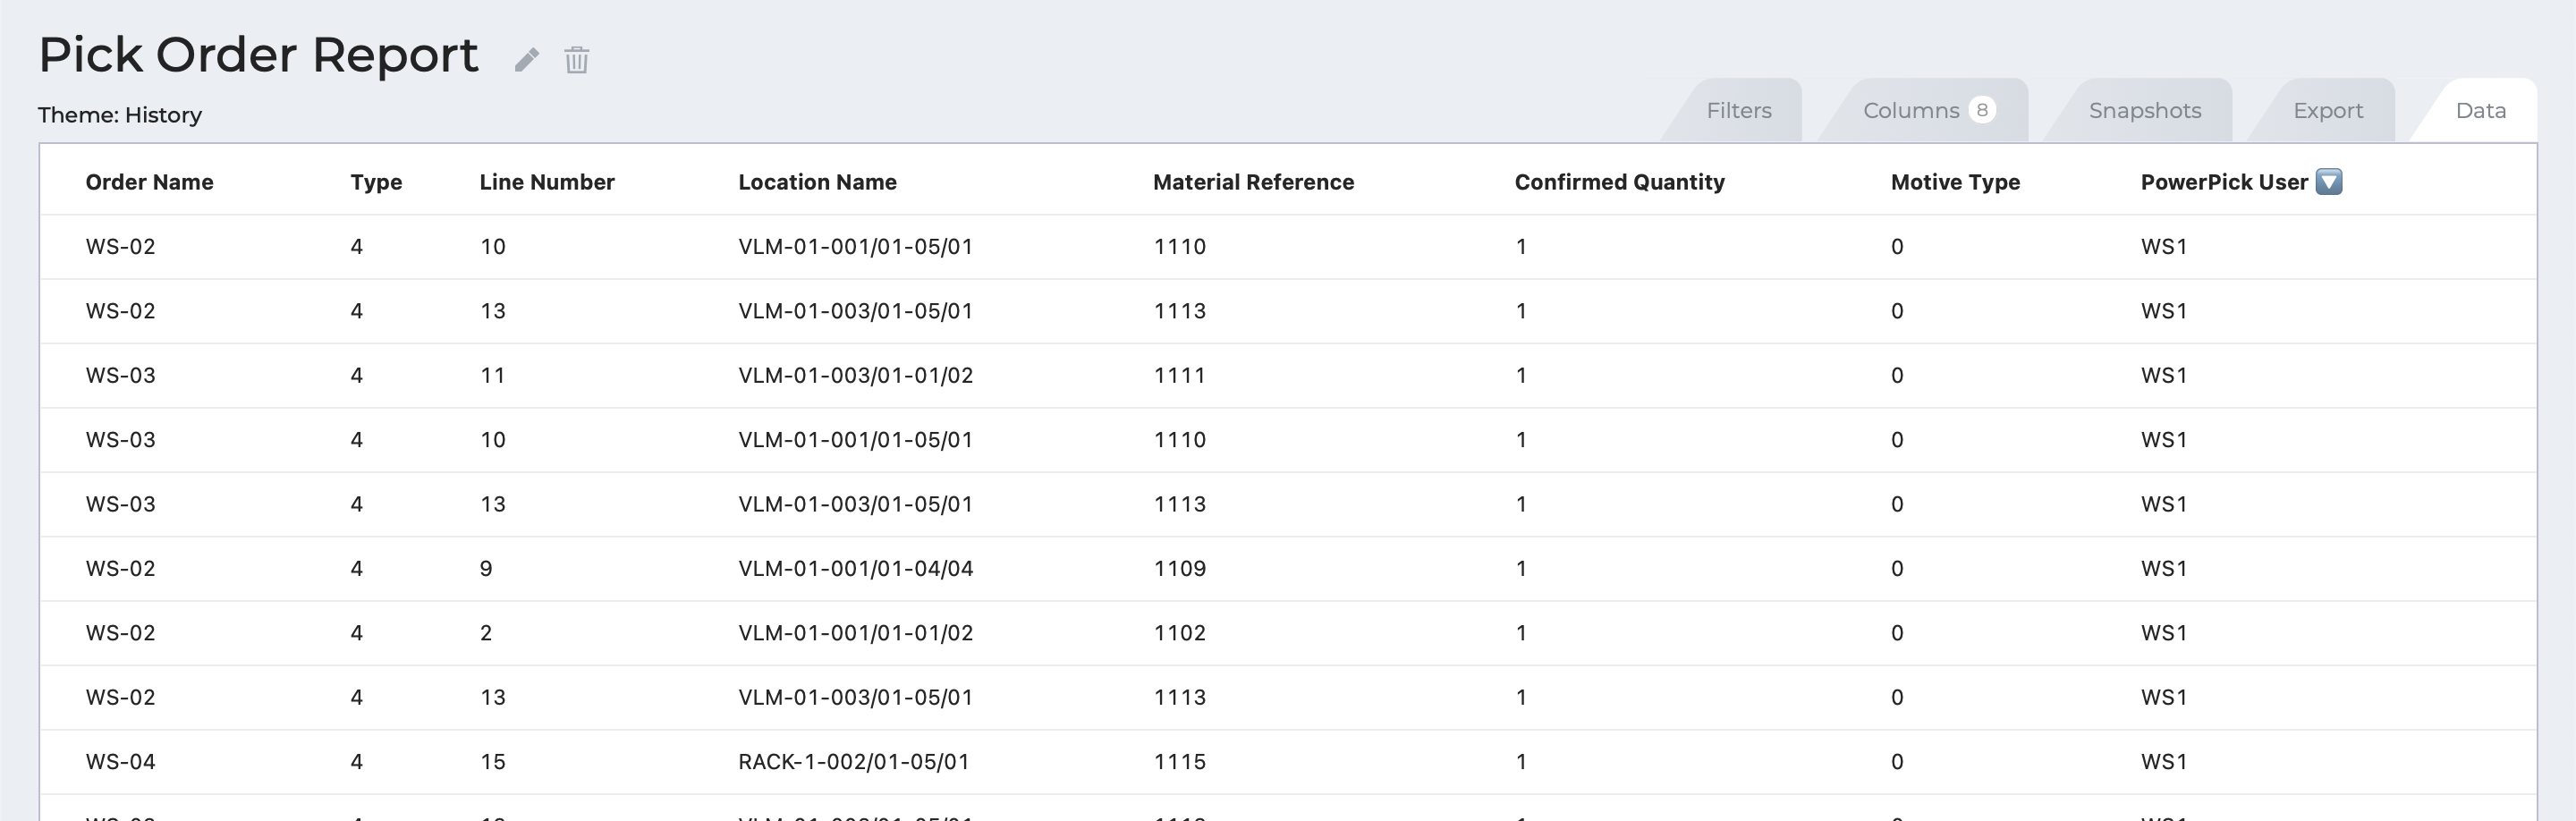
If you view the data in your report now, you'll see that one column now exists. Columns are sortable by ascending or descending order, alphabetically or numerically.
For this lesson, try adding the following columns to your report:
- Order Name
- Type (History Type)
- Line Number
- Location Name
- Material Reference
- Confirmed Quantity
- Motive Type
- PowerPick User
You can drag and drop columns to reorder them.
Go back to the **Data** tab to see the data from the columns you added, and try sorting by the different values.