


Adding Actions
In the Add Action step, choose “Email” from the dropdown.
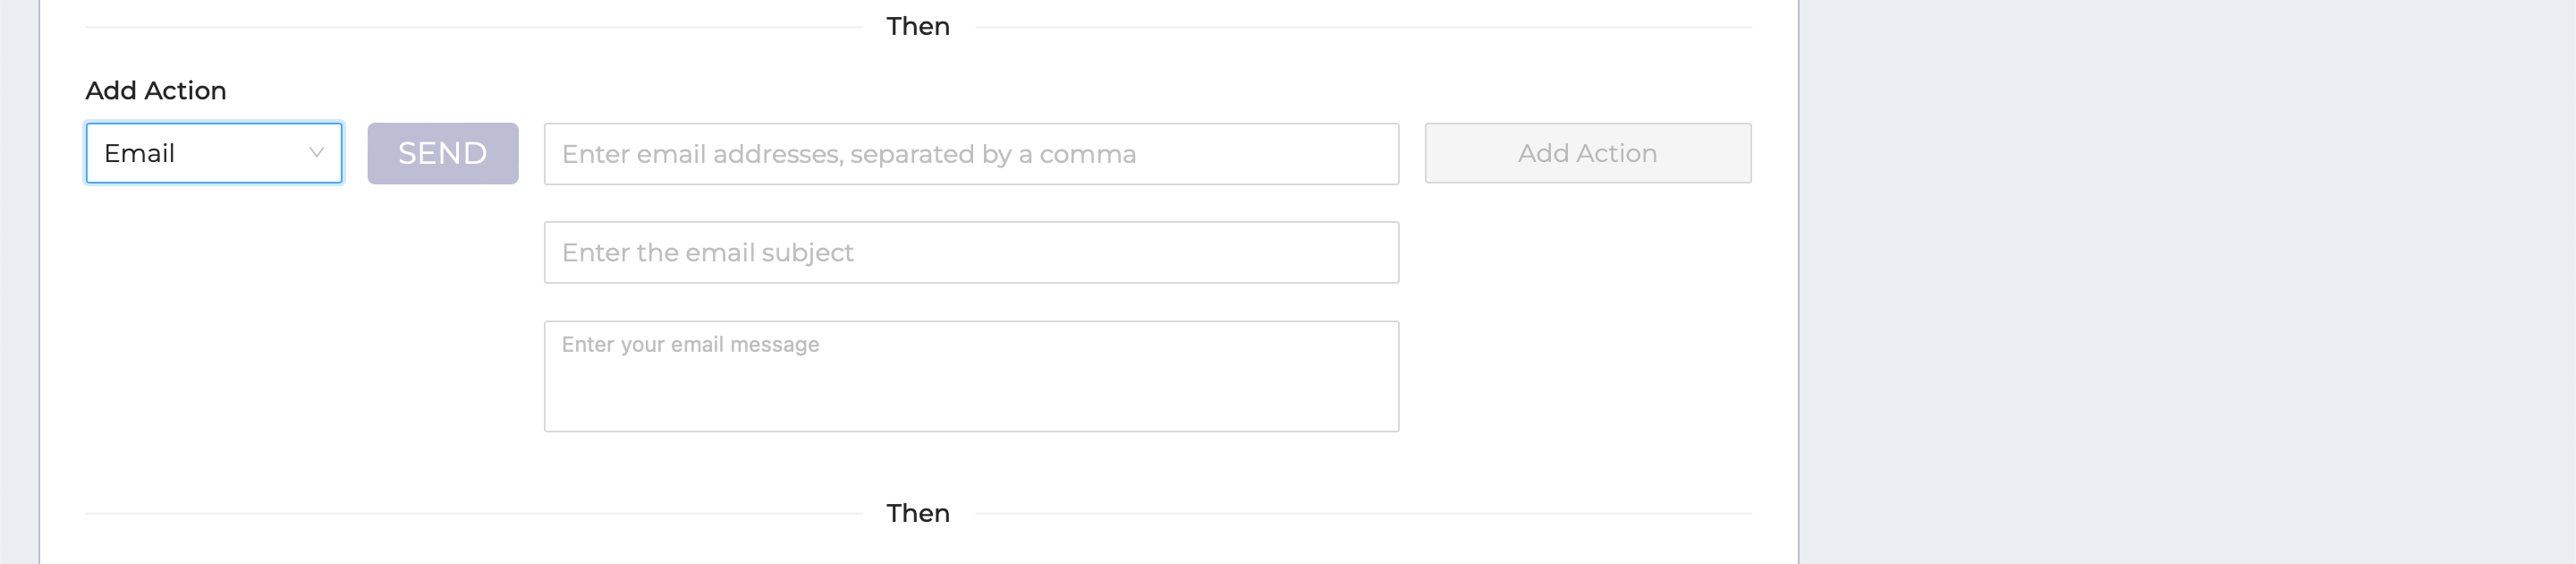
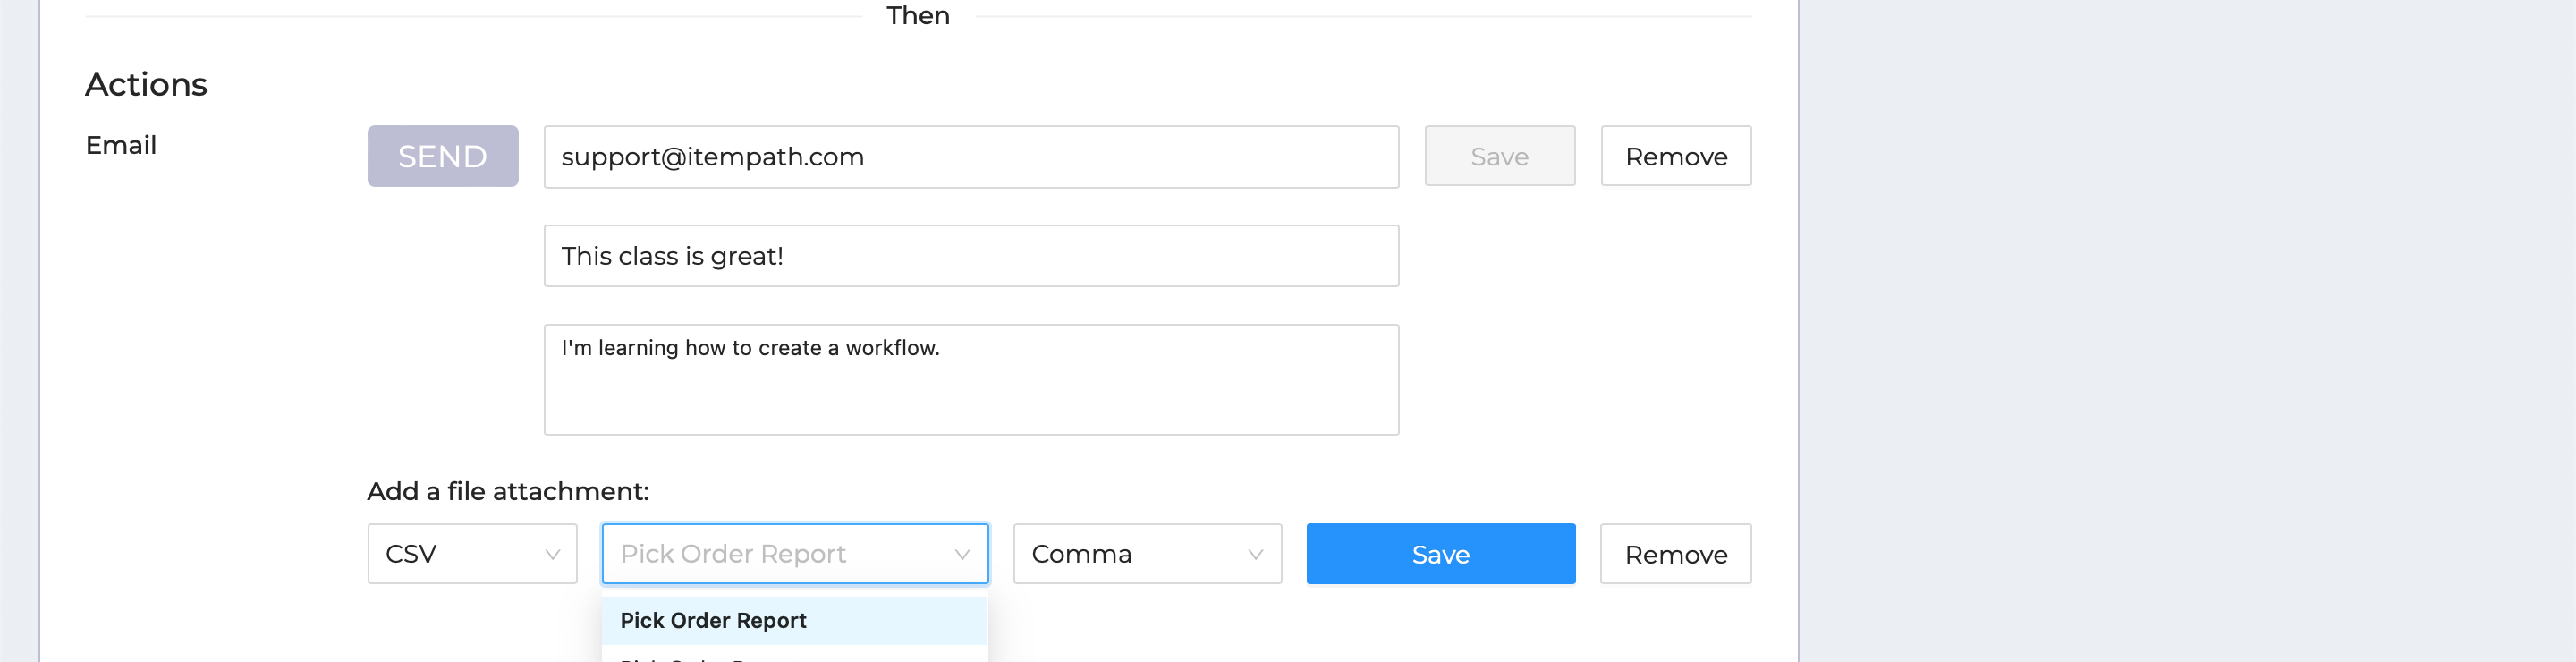
Enter your email and whatever you’d like for the subject and message, then save.

You’ll then see an option to add an attachment. Like exporting a report, try selecting a CSV file, choose the report you created from the middle drop-down, setting the delimiter, and saving.
If you prefer, you could send a text message or Slack message instead or in addition to the email. Also, the more ItemPath apps you have connected, the more actions you can automate.

Your workflow isn't set to activate until the first day of the next month, but you can use the test workflow button to check that it is working. After clicking to test, you can check the logs to see if the workflow did run, and you should see an email in your inbox within a minute or two.
If you leave the workflow activated, it will show you when the next trigger time is. However, you may want to deactivate this workflow, as it’s just for the purpose of learning. Use the slider to the right to deactivate it, or delete the workflow altogether.
