

Setting User Roles
A user role is a set of permissions that allow users with the assigned role to access specific areas of ItemPath. This is helpful when you have many employees requiring the same information, but you don’t want to change each user’s permissions separately. Grouping users together allows you to save time by changing the access parameters once for the role.
Each user's role can be seen the User list in the "Role" column.
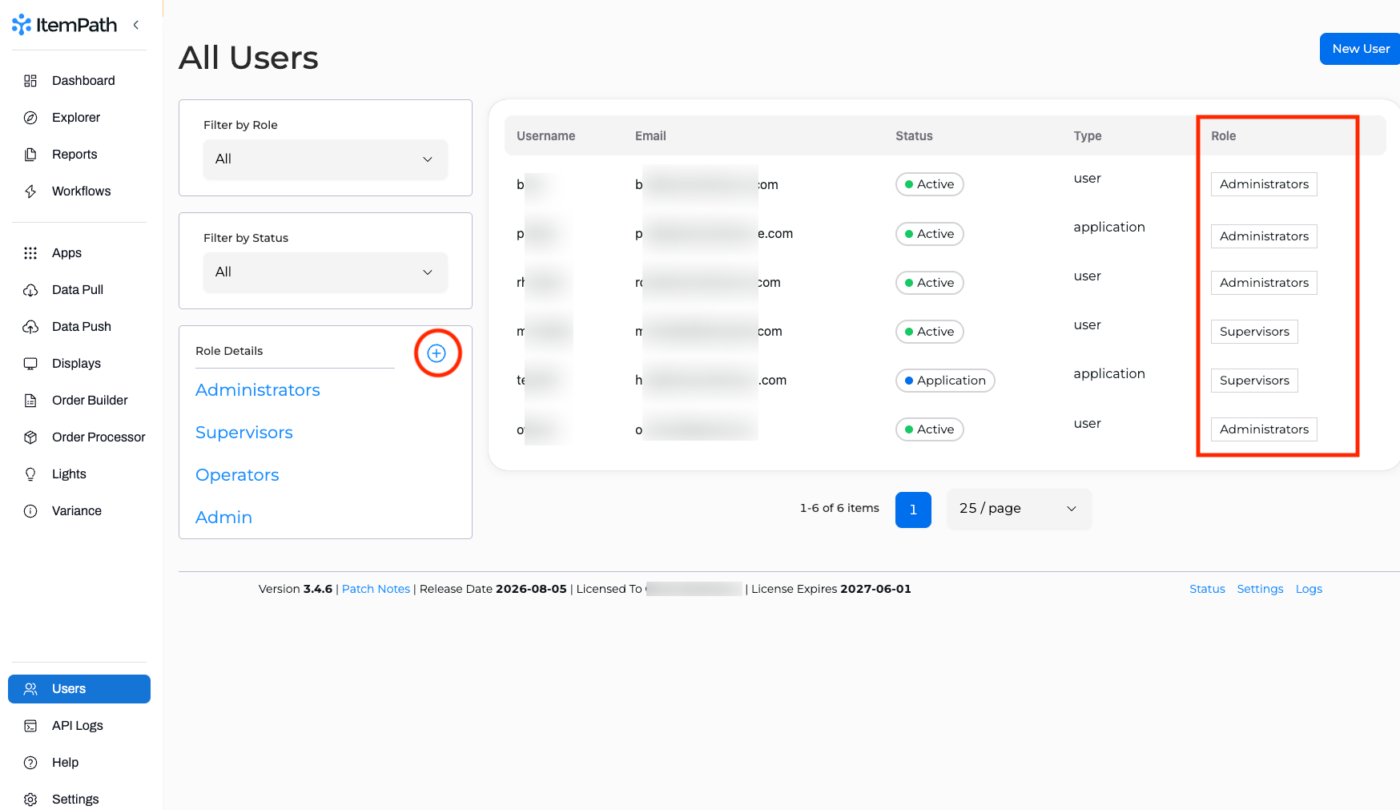
To add a new role, click the "+" icon in the list of Role Details.
In the form, give the role a name.
Note that the "Full Access" feature is under development and not yet available, so skip this checkmark for now.

Now, select the new role from the Role Details list to open the permissions settings. You can change the role's name here.
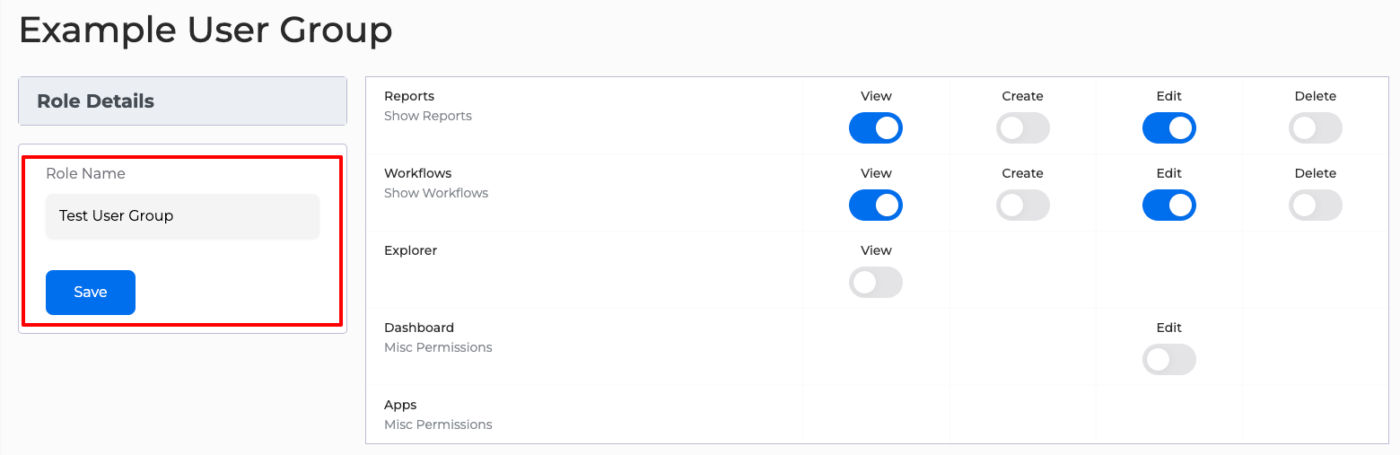
Here are a few things to note about these permissions options:
- A blue toggle set to the right indicates that the permission is fully enabled.
In this case, the user role has access to view and edit, but they cannot create or delete reports. - A grey toggle set to the left indicates that this permission is turned off for this role.
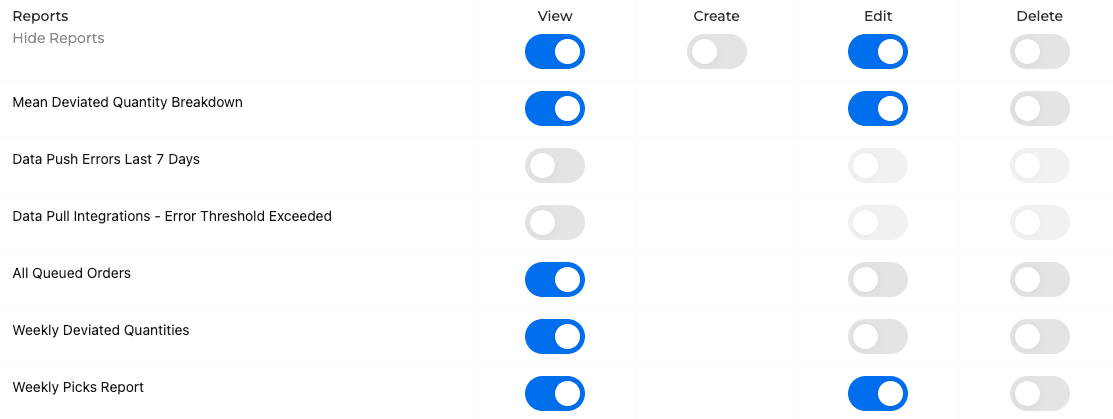
In this case, the user is not able to create or delete workflows. Clicking Show Reports or Show Workflows will list the individual reports and workflows, allowing you to select which ones are restricted, and which ones can be viewed and edited.
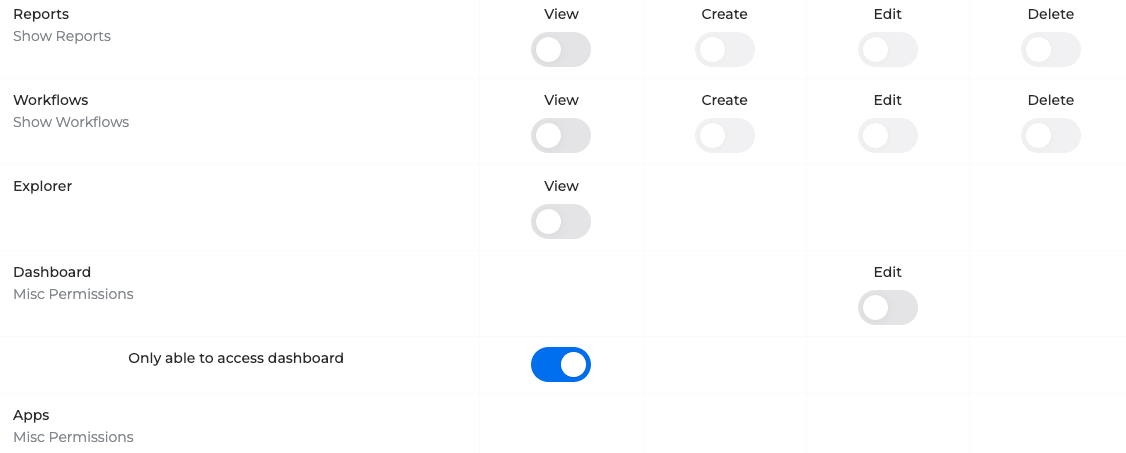
In the Dashboard Misc. Permissions dropdown is a setting to restrict the role's access to the Dashboard only. Take a look at this guide on how it works.