


Adding Lights to a Workflow
When adding lights to a workflow, you can select one of 3 actions:
- Turn Lights On
- Turn Lights Off
- Alert Lights (flash lights for 15 seconds and then stay solid)
To add a Lights workflow action, follow these simple steps:
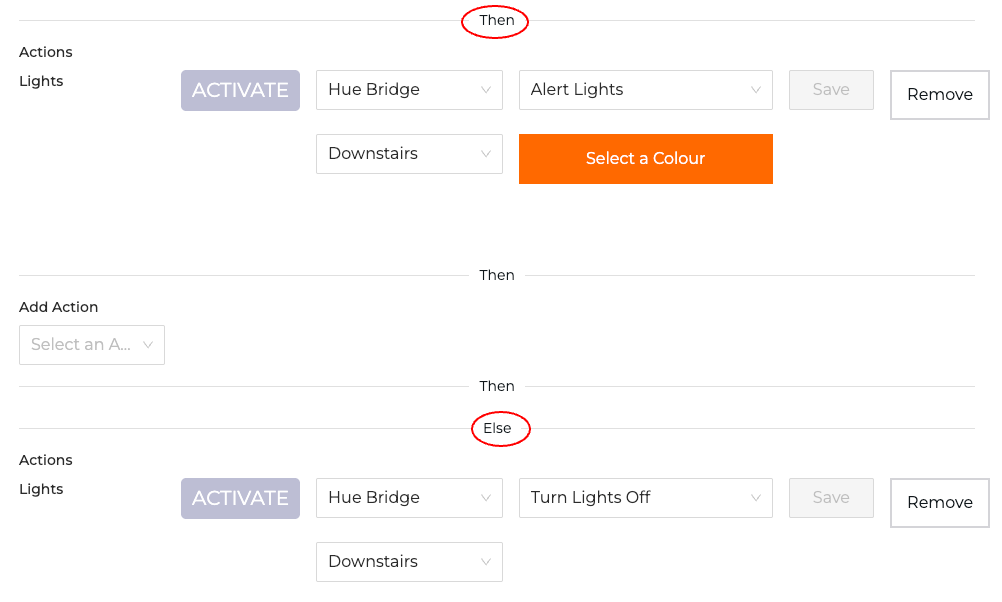
- Select Lights from the App dropdown under 'Add Action'
- Select the bridge you would like to access
- Select the zone you would like to activate when the workflow runs
- Select the action you'd like to take with the lights
- If you select Turn Lights On or Alert Lights, select the color you would like to change the zone lights to (requires Philips Hue White and Color Ambiance bulbs)
- Save.
Once this is complete, you can test your Workflow and Activate it when you're satisfied with the settings.
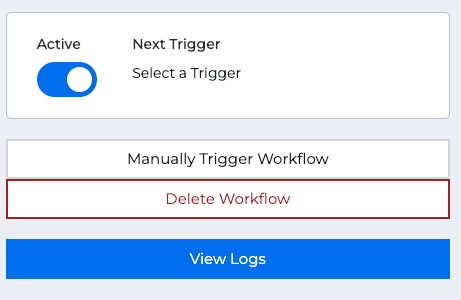
You can set up consecutive 'Then' Actions in your workflow by repeating steps 1 - 6 above. You can also add 'Else' Actions. For example, you can turn a light on when the criteria or your workflow is met, and if not, turn the light off.
Click here more information on setting up Workflows.
Note: In order to add Lights to a workflow action, you must first connect your bridge with ItemPath. If there are no zones set up for your bridge, follow the instructions here.